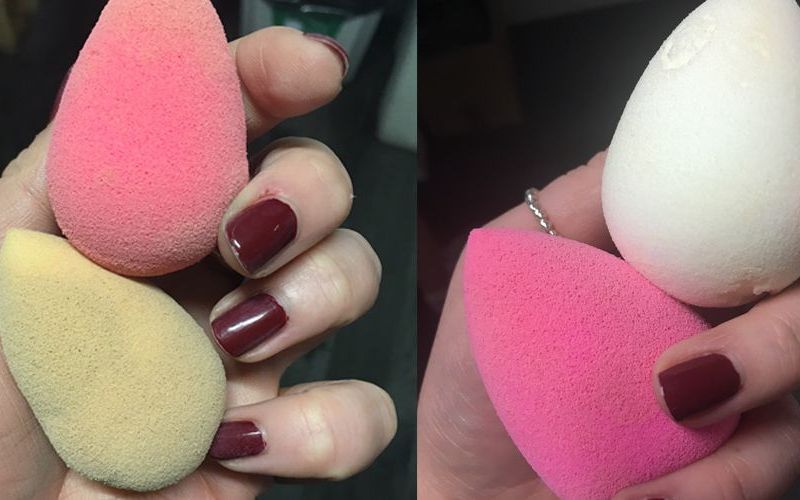
Hey there, beauty buffs and sparkle seekers! It’s your pal Mikey, diving into the world of beauty tools with a tip that’s going to revolutionize your makeup game. Ever looked at your beloved beauty blender, spotted with foundation and blush, and thought, “If only there was a magic wand to make this baby pristine again”? Well, guess what? Your microwave is that wand. Today, we’re tackling the ultimate question: how to clean a beauty blender in the microwave.
So, let’s zap the gunk away and turn that blender from grimy to gleaming in minutes!
Why the Microwave?
You might be wondering, “Mikey, why are we using a kitchen appliance for beauty tools?” Here’s the scoop: microwaving your beauty blender not only helps clean it but also disinfects it. That’s right, folks – the heat zaps away bacteria and germs, giving your sponge a deep cleanse that’s tough to achieve with soap and water alone. It’s quick, efficient, and kind of fun (in a science-experiment way).
Materials Needed
Before we get started, let’s make sure you’ve got everything you need. For this exercise, the materials list is fairly straightforward:
- Your dirty beauty blender
- A microwave-safe bowl
- Dish soap (gentle and fragrance-free is best)
- Water
Step-by-Step Guide: Microwave Your Way to a Sparkling Beauty Blender
Prep Your Sponge
- Wet Your Beauty Blender: Begin by fully saturating your sponge under running water. This step is crucial – a dry sponge in the microwave is a no-go (think: fire hazard).
Mix the Cleaning Solution
- Create Your Mixture: In the microwave-safe bowl, mix a few drops of dish soap with water. You want enough soapy water to fully submerge the beauty blender.
The Microwave Magic
- Soak and Zap: Place your beauty blender in the bowl, ensuring it’s fully submerged. Pop it in the microwave and set it for about 60 seconds. That’s all it takes – a minute to melt away the makeup and destroy the microbes.
Aftercare
- Cool Down: Carefully remove the bowl (it’ll be hot!) and let your beauty blender cool down a bit before handling.
- Rinse and Dry: Give your sponge a good rinse under cold water to wash away any soap and loosened makeup. Then, set it out to air dry completely before using it again.
Do’s and Don’ts of Microwave Cleaning
- Do ensure your sponge is wet before microwaving.
- Do use a gentle, fragrance-free dish soap to avoid irritating your skin later.
- Don’t microwave your beauty blender for more than 60 seconds. We’re cleaning, not cooking!
- Don’t skip the cooling period. Patience is key to keeping both your fingers and sponge in top condition.
Why Regular Cleaning Is Crucial
You might not see it, but your beauty blender is a bustling metropolis for bacteria, and old makeup is the all-you-can-eat buffet they thrive on. Here’s why making cleaning a regular part of your beauty routine is non-negotiable:
- Skin Health Savior: Regularly cleaning your beauty blender helps prevent the buildup of bacteria that can lead to breakouts, infections, and general skin irritation. Think of it as a workout for your sponge – keeping it fit and healthy so it can perform its best.
- Makeup Mastery: A clean sponge applies makeup more evenly and smoothly. Over time, product buildup can make your blender stiff and less effective, leading to patchy application. Keeping it clean ensures every application is as flawless as the first.
- Longevity of Your Blender: Regular cleaning extends the life of your beauty blender, letting you get the most bang for your buck. Proper care prevents the breakdown of the sponge’s material, meaning you won’t have to replace it as often.
Alternative Cleaning Methods
If the microwave method doesn’t quite blend with your vibe, or you’re looking for a bit of variety in your cleaning routine, check out these alternatives:
- Soap and Water Technique: This classic method involves lathering up your beauty blender with a gentle cleanser and warm water. Gently massage the soap into the sponge, rinse thoroughly, and repeat until the water runs clear.
- Specialized Cleansers: Many brands offer cleansers specifically formulated for cleaning makeup sponges and brushes. These products are designed to break down makeup and sanitize your blender without damaging the material.
- Silicone Cleaning Mats: These textured mats help you give your beauty blender a deeper clean. Simply use the mat to agitate the sponge under running water with soap, helping to remove stubborn makeup residue.
Final Cleanse
And there you have it – a sparkling clean beauty blender, all thanks to a little microwave magic. Embracing this simple, effective cleaning method means you can keep your makeup application fresh and your skin happy. So, next time your blender looks a bit worse for wear, remember: Mikey’s got your back with the tips and tricks you need.
Got your own beauty tool cleaning hacks or questions? Drop them in the comments below. Let’s keep the conversation going and our beauty blenders gleaming!